
Disassembly
Per multiple requests, we are bringing you another disassembly video. Our today's contender is HP 15-BS. It is a medium size entry level reliable laptop with the latest dual core 5th generation Intel Core-i3 processor that is capable of performing everyday tasks as well as streaming and even some heavy processing.
Whether you need to remove the old nonfunctioning battery and replace it with an OEM alternative, or perhaps you need to add more RAM or upgrade the hard drive, we’ve got you covered. In this video we will demonstrate a full disassembly of the laptop performed by one of our specialists here at Laptop Nuts’ primary location.
So pull out that dusty screw driver set and prepare to get your hands “dirty”.
First of all we need an open space to make sure none of the screws and little tiny parts get lost. In our case we have a full desk to our disposal.
Next, we will make sure we have a set of screwdrivers with various heads of different sizes. Also, it is very important to have some kind of flat sliding tool preferably made of hard plastic. This is important for several reasons. It would allow for easy entrance in tightest gaps to separate the case bottom from the palmrest for example. Also since the plastic is horrible conductor of electricity, we can avoid short circuiting altogether. We use this tool whenever we come in proximity of circuit boards such as motherboard, PCIe NVME SSD drive, usb circuit board or even dvd drive.
With that being said, let’s jump straight into it.
For those video learners, we created a short video(Subsribe for more video content):
Battery
We begin by removing the battery. Battery is a power bank holding all the electricity that can otherwise be unleashed with a slight touch of a metal screwdriver in the most vulnerable parts of the main circuit board. Removing the battery doesn’t require any “screwing around”. Simply push one of the black sliders and the battery will leap out of the whole assembly.
The battery for this model is relatively small in size and weight and the replacements are pretty affordable.
DVD Drive
Before we even get to the case bottom, we need to remove the dvd drive. At this point there is nothing holding it in place apart from the motherboard socket connector. Take the flat head tool and gently insert it between the dvd drive and the main case bottom. Start pushing the drive out. It should come out easily.
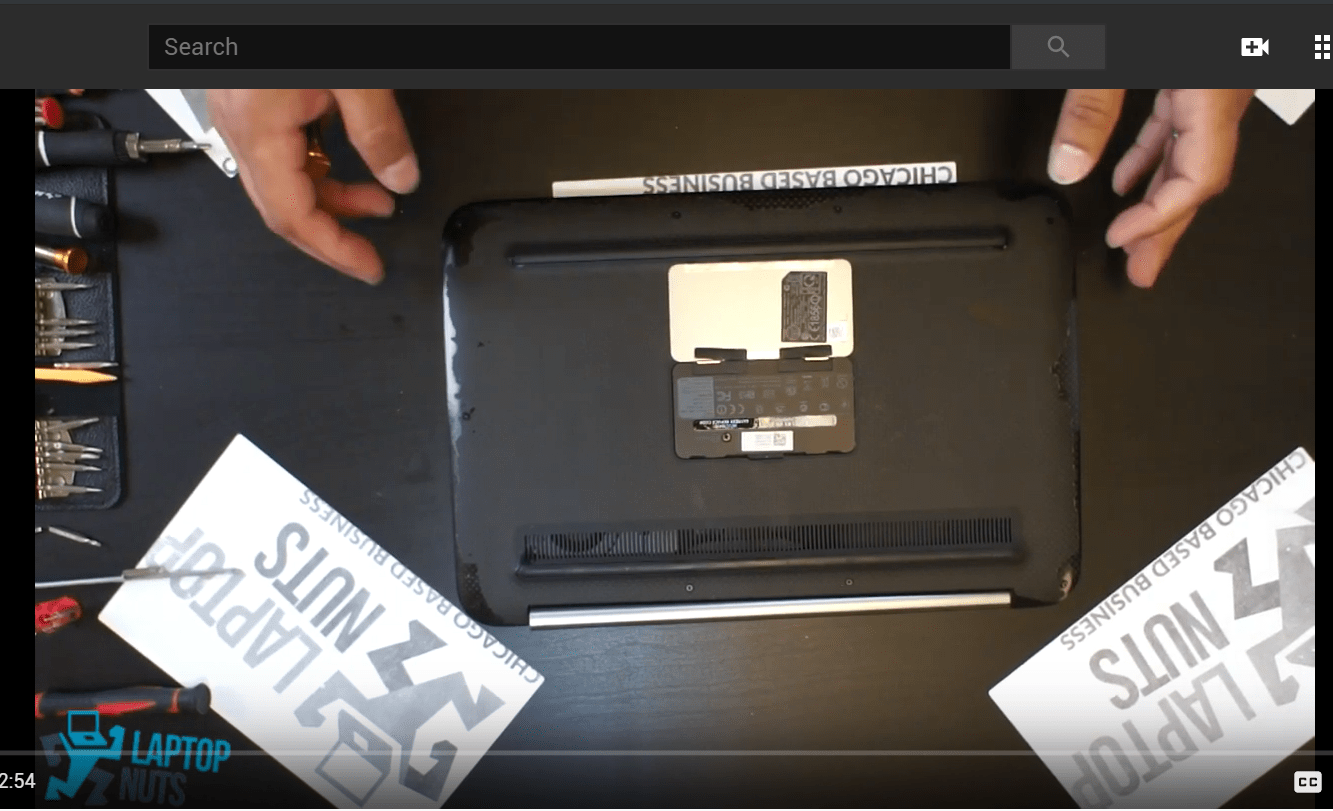
Case Bottom
The case bottom is made of plastic, so make sure you have an appropriate tool as specified in the introduction to carefully separate the case bottom from the palmrest/touchpad assembly.
Now is the for unscrewing. There are a total of ten screws with four of them hidden underneath each of the four bottom rubber feet, two of them in the battery compartment, right beneath the battery on each side. The rest of the screws are clearly visible on the surface of the case bottom.
With the four screws located underneath the rubber feet, you do not have to remove the rubber pieces completely. Simply lift them with a flat tool on the corner side just enough to squeeze in your screwdriver. This will let you remove those four screws without completely removing the rubber feet. In case those rubber feet don’t stick back very well, you can always use a simple adhesive to make them hold.
As your remove screws, place them carefully on the side and remember their location in case you are just replacing a certain part and would have to assemble everything back again.
Once you carefully remove all the screws, the case bottom is ready to be separated from the palmrest/touchpad assembly.
Begin separating the case bottom from the palmrest by the touchpad area. Grab the flat plastic tool and find a tiny gap that is wide enough for the tool to be inserted. If you cannot find one, use your free hand to push down the plastic. Do so gently to avoid breaking any tiny notches that hold the plastic parts together.
Once you were able to insert the flat head tool, start sliding it around the whole perimeter until the bottom case separates.
RAM
Now that the case bottom is out of the way, it is time to take a look under the hood. RAM is the first and easiest thing to remove. It requires no tools because there are no screws holding it in place. Instead there are two handles on each side that you pull away from the RAM simultaneously until the RAM lifts up. Now simply pull it out.
That’s it!
Hard drive
The hard drive is held in place by a single screw right in front of it. Once you remove the screw, pull the drive out.
Wires
Disconnect them early to avoid damaging any sockets later in the disassembly process. You can see in the video we take time to unplug all the wires so that later we don’t jeopardize the safety of the plugs and sockets.
CPU Heatsink
The heatsink is mounted on to the board right above the CPU chip with four screws. Once you remove all of them, carefully lift the heatsink, because the thermal paste underneath it can be tightly bound to the chip and applying too much force can compromise the safety of the crucial components.
CPU Fan
The fan is attached using three screws, some of which we have already removed prior to getting our hand on the fan. It should easily come out after all the screws are removed. Again, make sure all the connecting wires are unplugged.
Motherboard
By this time, the motherboard should be loose, however make sure there are no remaining screws holding it in place prior to trying to wiggle it out of the spot.
Separate Palmrest Touchpad from the LCD Screen Assembly
Now switch your attention at those shiny metal hinges that are attached with a total of five screws - two on right side and three on the left side. Those screws are larger and might require a bigger screw driver. One tip here is to open the laptop slightly before removing the screws, because once you remove them, it would be harder to turn hinges.
Summary
On average it shouldn’t take you more than ten minutes for a whole disassembly, assuming you won’t remove the screen from the assembly. In case you do want to remove the screen, consider first checking if the whole lcd assembly replacement is available on ebay, because that’s most commonly the case today. Rarely is the screen removed these days whether for lcd, camera or inverter replacement. The whole assembly is sold in one piece. This will save you time and money.